
Select Ideal Tile Flooring for Your Home Style
A clear selection plan leads to confident results. Start by noting your home’s design elements. Record wall colors and furniture finishes. List key materials in each room. Define performance needs. Match visual appeal with daily function.
Identify Your Home’s Aesthetic
Note architectural features. List window shapes and door profiles. Record molding and trim details. Capture dominant color schemes. Choose tile formality to align with décor. Ensure each choice feels intentional.
Understand Tile Categories
Porcelain delivers high durability and moisture resistance. Ceramic suits low-traffic areas and walls. Natural stone offers unique veining. Wood-look porcelain mimics timber warmth. Concrete-look porcelain yields a modern edge. Evaluate maintenance needs before deciding.
Choose Color and Finish
Select neutral tones for lasting appeal. Warm beiges and soft grays fit most schemes. Matte surfaces reduce slips in wet zones. Gloss finishes reflect light for brightness. Uniform color depth ensures a consistent look across tiles.
Test Tile Samples
Order small tile samples. Place samples on floors and walls. Observe under natural and artificial light sources. Note color shifts at different times of day. Rotate samples to find the ideal orientation. Finalize color choice before purchase.
Explore Tile Flooring and Backsplash Design
Match floor tones to kitchen and bath backsplashes. Use similar tile sizes to link surfaces. Apply grout that unifies the areas. Add accent tiles at key focal points. Lay backsplash tiles in horizontal lines for a sleek feel.
Select Pattern Style
Standard grid layouts offer timeless appeal. Herringbone adds visual energy. Basketweave yields intricate detail. Large-format rectangles minimize grout lines. Hexagonal tiles introduce subtle geometry. Sketch patterns on paper to confirm proportions.
Plan Transitions with Expert Wood Finishing
Fit smooth thresholds between tile and wood floors. Choose custom wood strips that match trim profiles. Apply water-resistant sealant at joints. Ensure height alignment for seamless flow. Schedule finishing by a skilled carpenter.
Evaluate Grout Options
Use floor-rated grout mixes. Epoxy grout resists stains and cracking. Cementitious grout allows easy repairs. Select grout color to blend or highlight tile lines. Clean grout regularly with a pH-neutral solution. Seal lines every one to two years for lasting results.
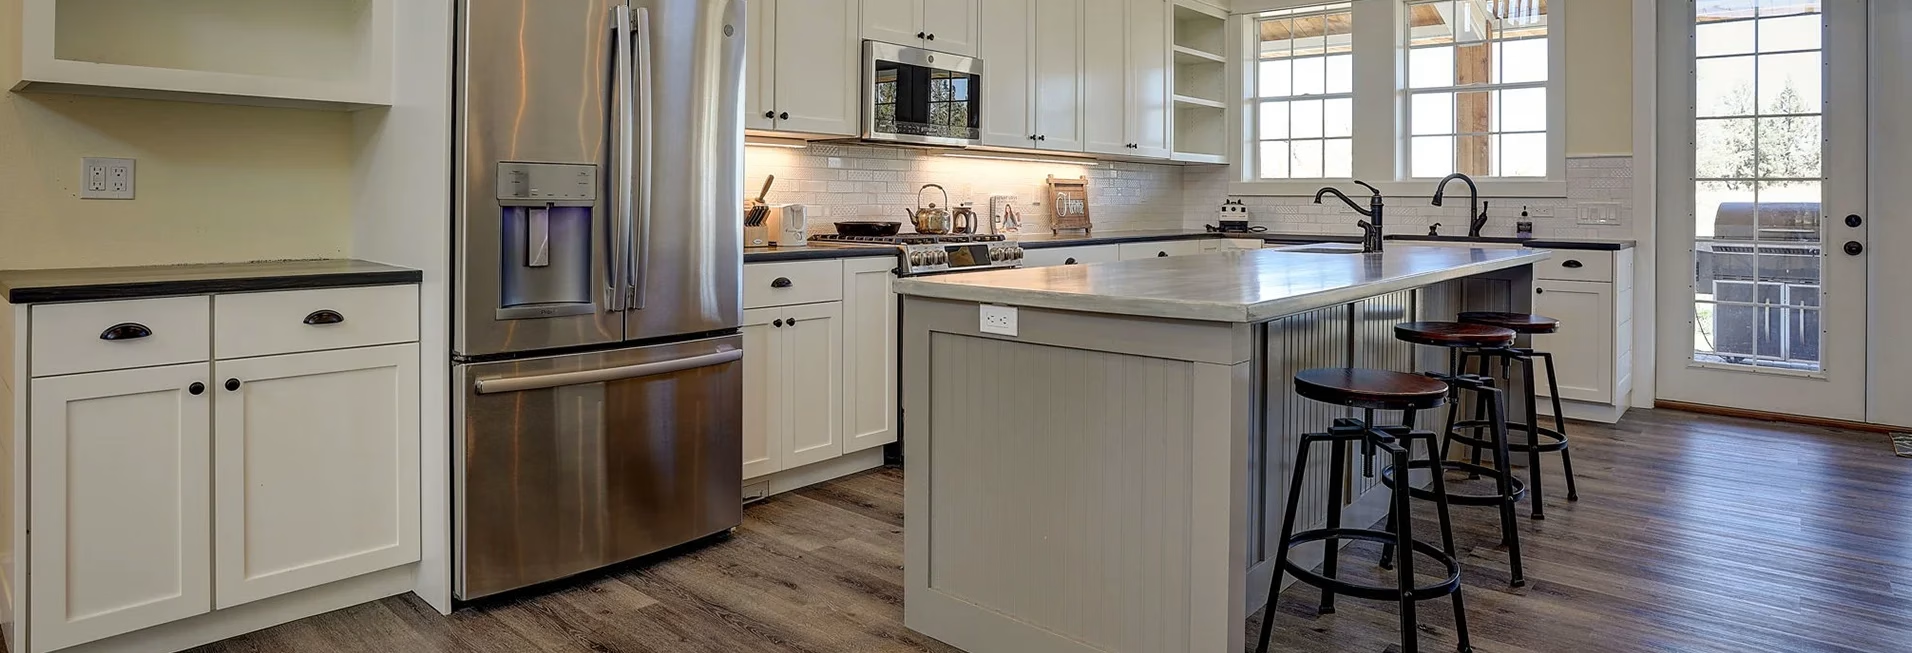
Match Tile to Room Use
Entryways demand robust, low-maintenance tiles. Kitchens require water-resistant materials. Bathrooms benefit from nonporous porcelain. Living rooms suit warmer, wood-look tiles. Balance texture and function for each space.
Budget and Supply Plan
Define material and labor budgets upfront. Visit local showrooms for price comparisons. Request free samples whenever possible. Factor in ten percent extra for cuts and breakage. Review supplier return policies and delivery fees.
Hire Skilled Installers
Choose tile setters with proven experience. Verify professional certifications. Review portfolios for grout precision and alignment. Confirm warranty coverage and cleanup policies. Agree on timelines and payment milestones.
Final Pre-Installation Checks
Lay out a dry sample of selected tiles on site. Confirm color consistency and edge alignment. Approve grout color on a small test area. Mark any adjustments before mortar application. Ensure all approvals are complete.
A structured approach leads to lasting tile flooring. Commit to careful selection, precise installation, and ongoing maintenance. Elevate your home’s style with quality materials and expert craftsmanship.
